Monthly Archives: March 2011

Compost Assignment

Compost_001Compost_003Compost_004Compost_005Compost_006Compost_009Compost_011Compost_012Compost_013Compost_015Compost_020

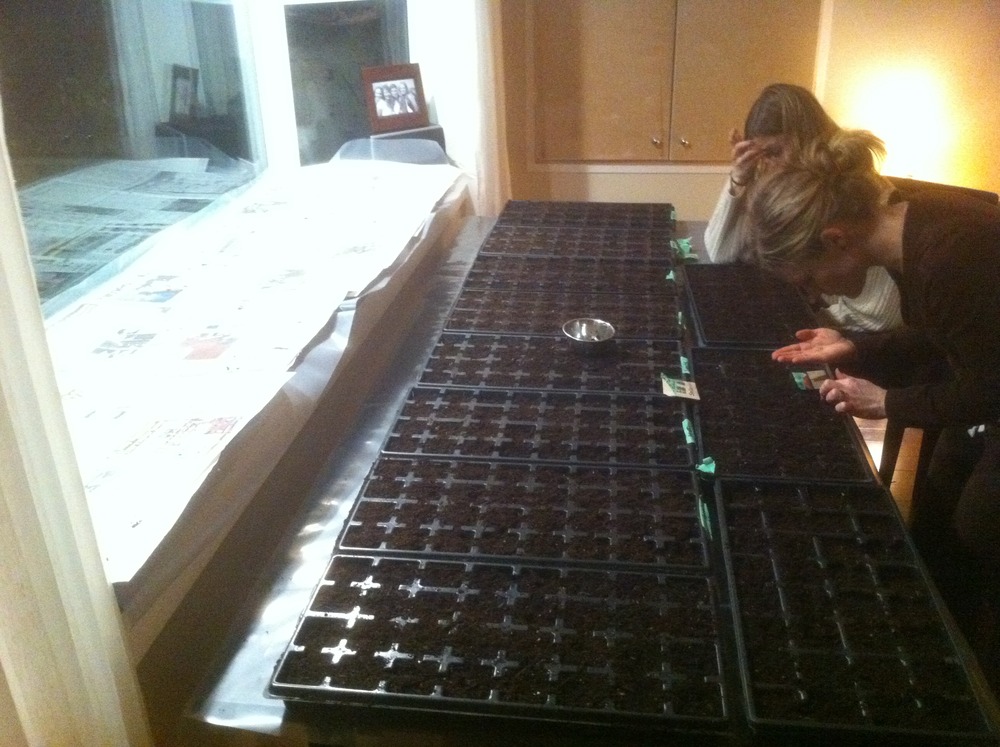
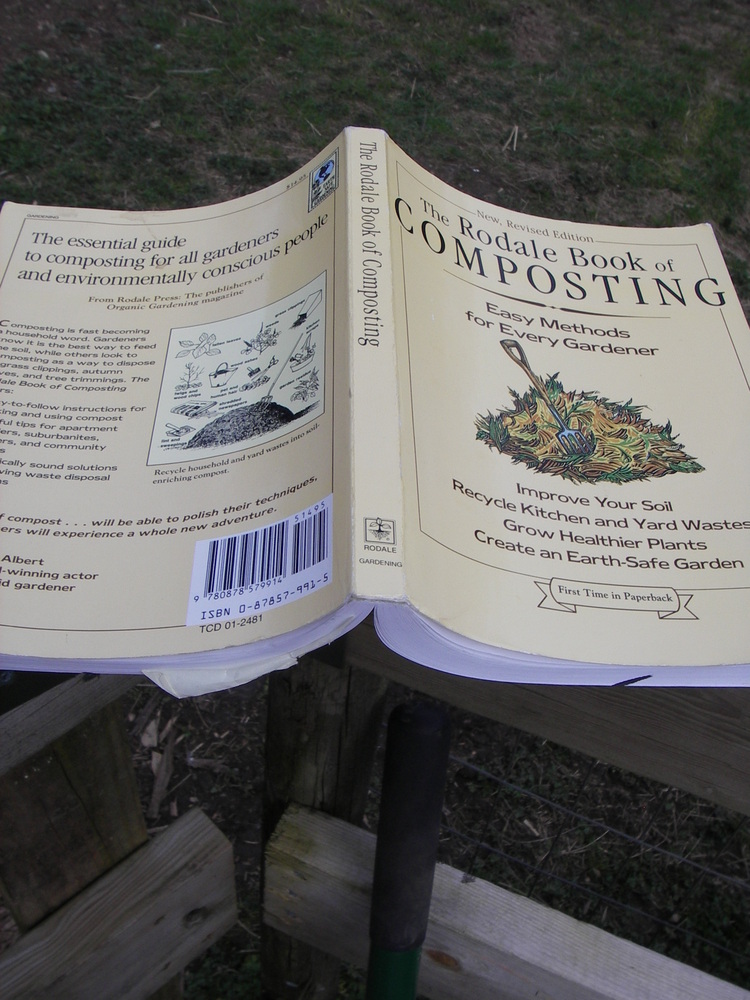
I am taking an ‘Organic Master Gardener’ course right now.  It’s great because some of my homework assignments are things we are doing or want to do around here already. One of these assignments is to build a compost, document it with pictures and provide a short writeup of the process. We had already built the bins but had not actually put anything in them yet so I already had a bit of a headstart. Anyways, for any of you interested in composting, my assignment is below. For those of you really really really interested in compost, I highly recommend The Rodale Book of Composting.

Compost Assignment

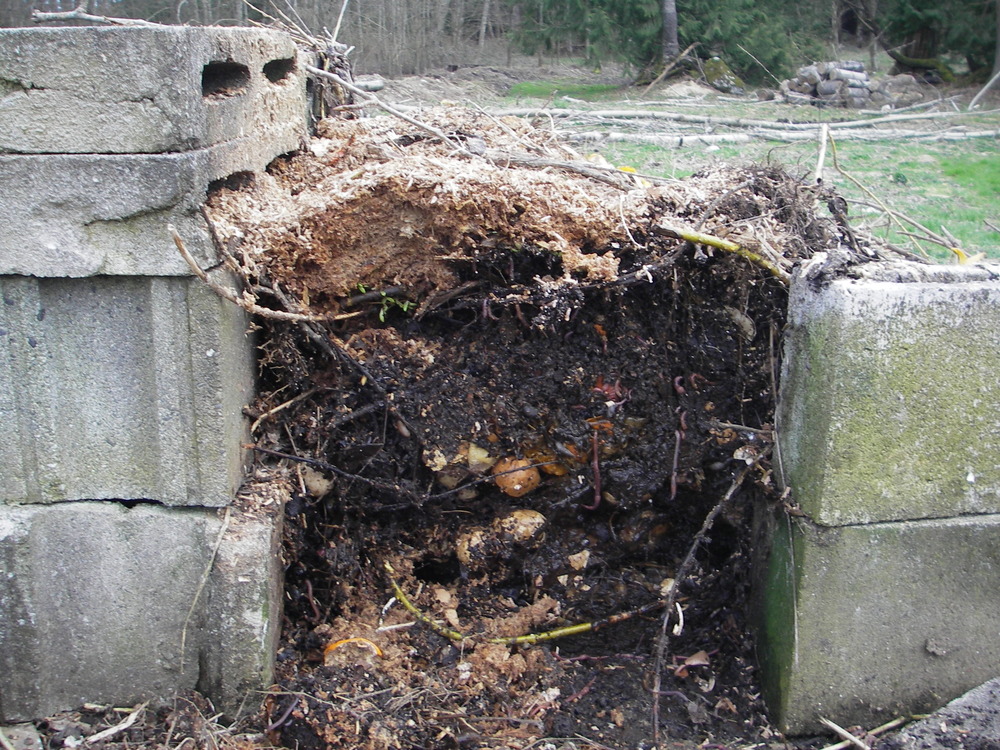
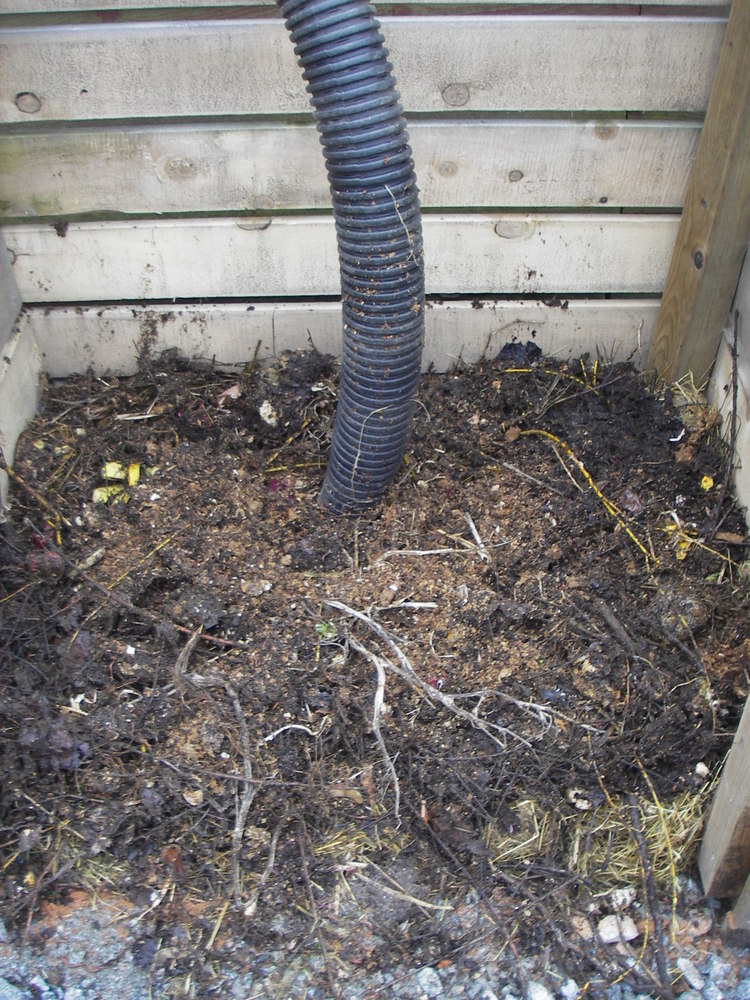
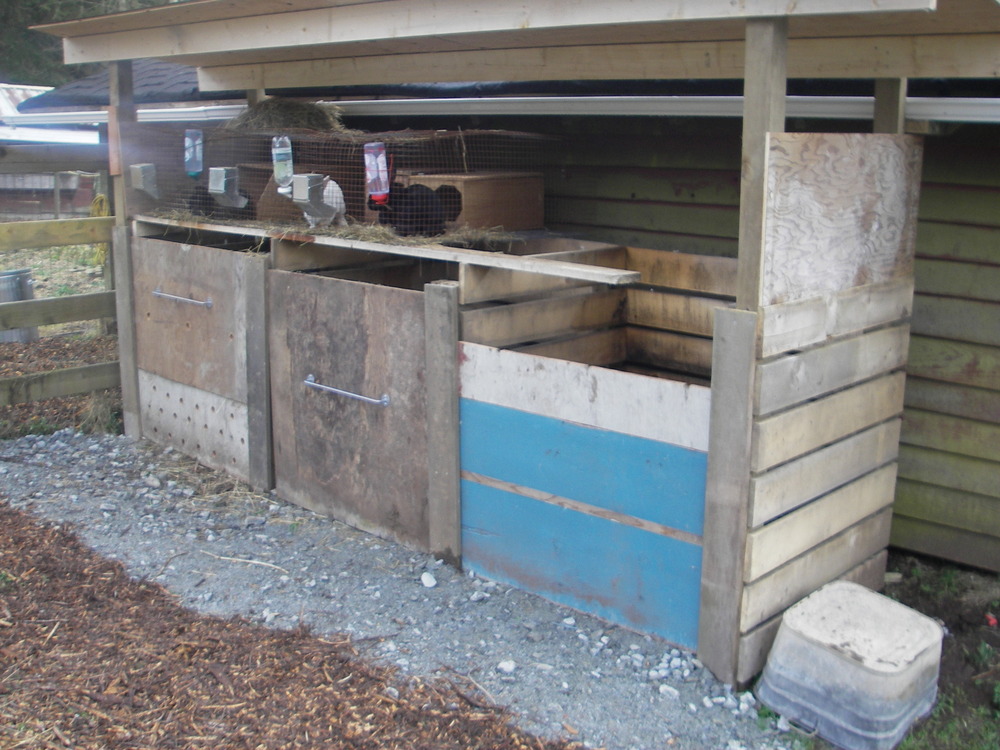
I have built a 3 bin compost system. As much as I would like to have the compost in contact with the soil, I sited it in such a low spot I felt I had to build it up with gravel to keep the bottom foot from being saturated in a standing pool of water throughout the winter.

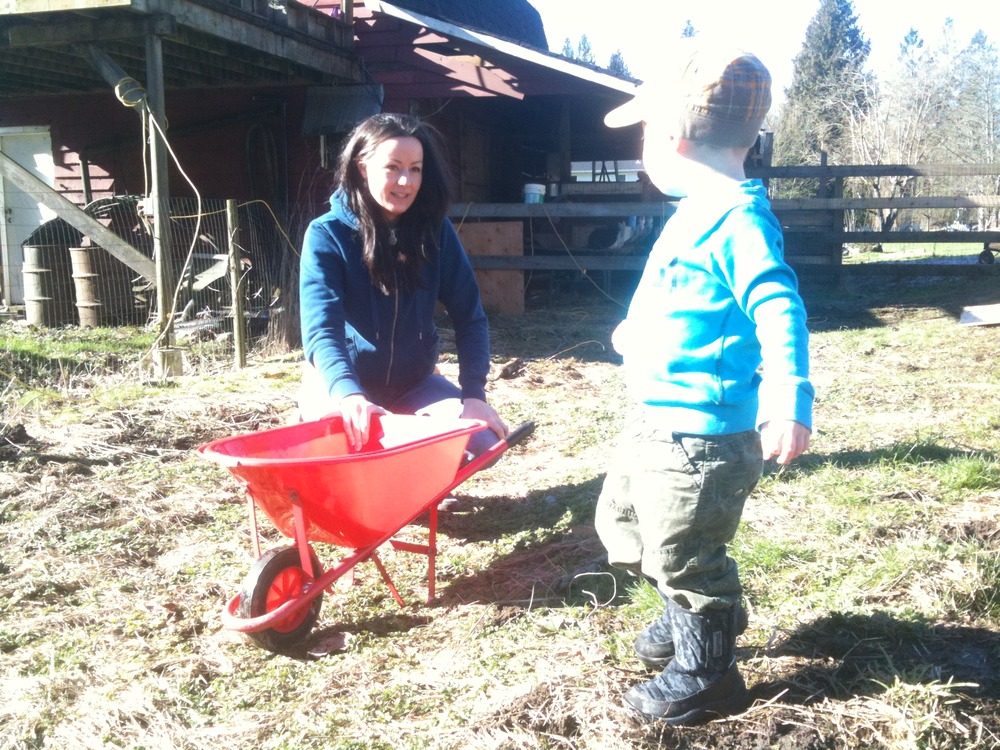
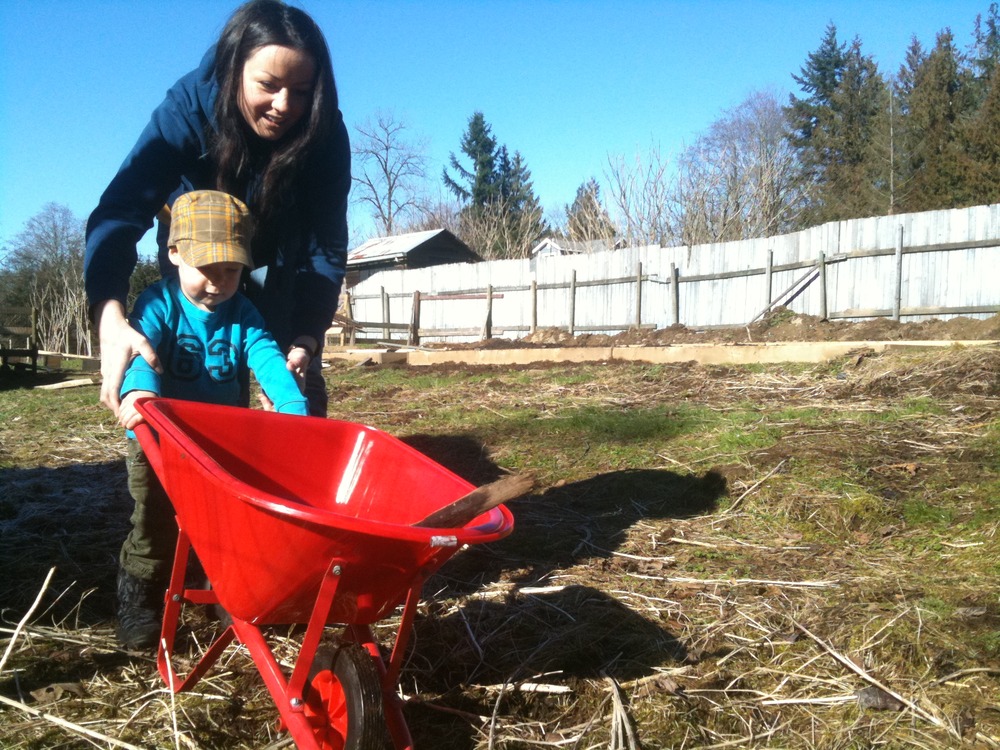
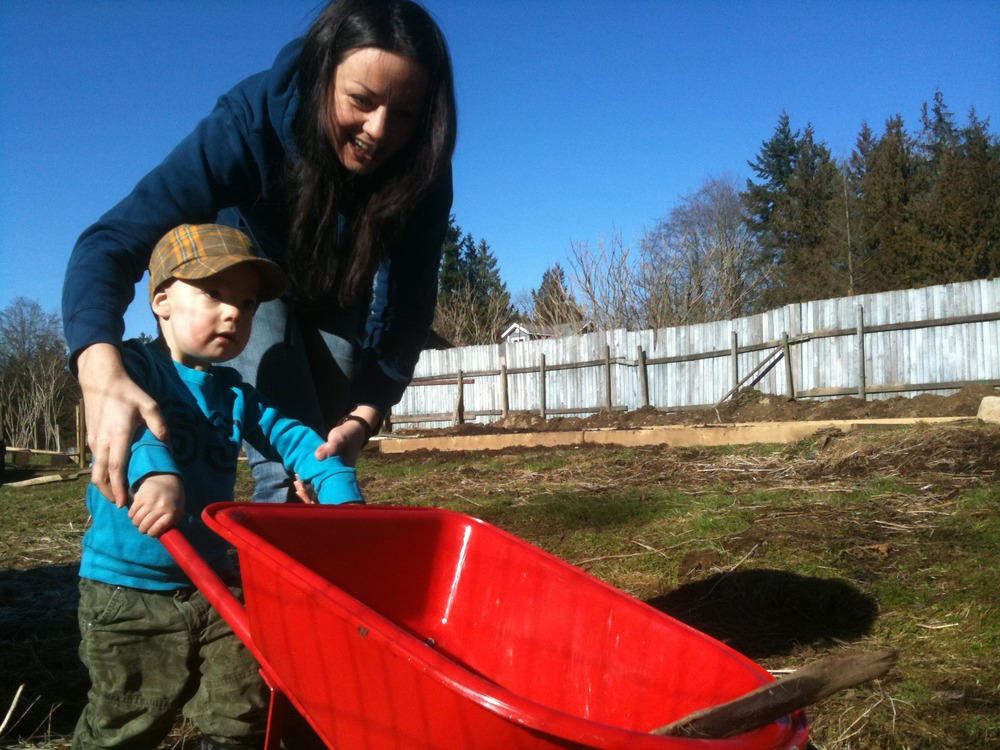
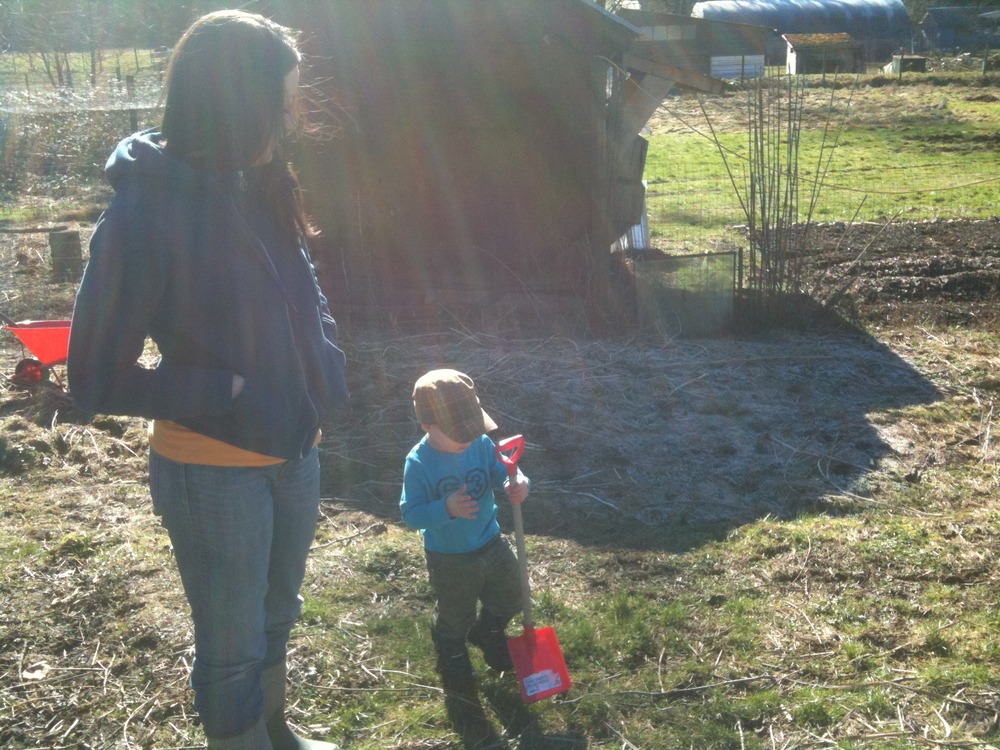
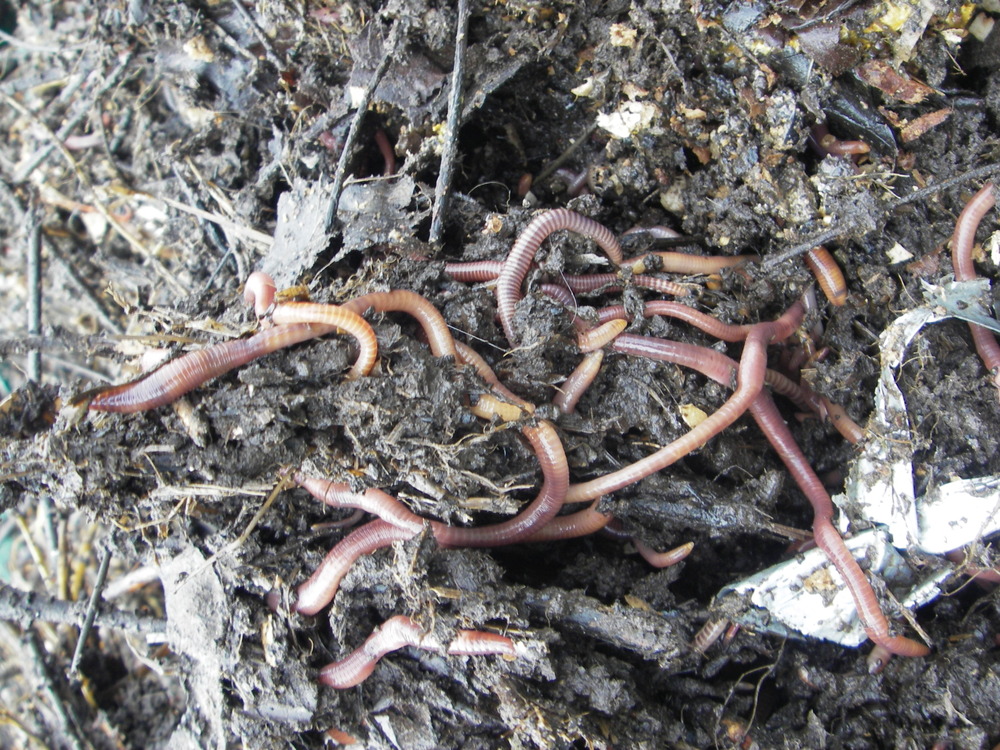
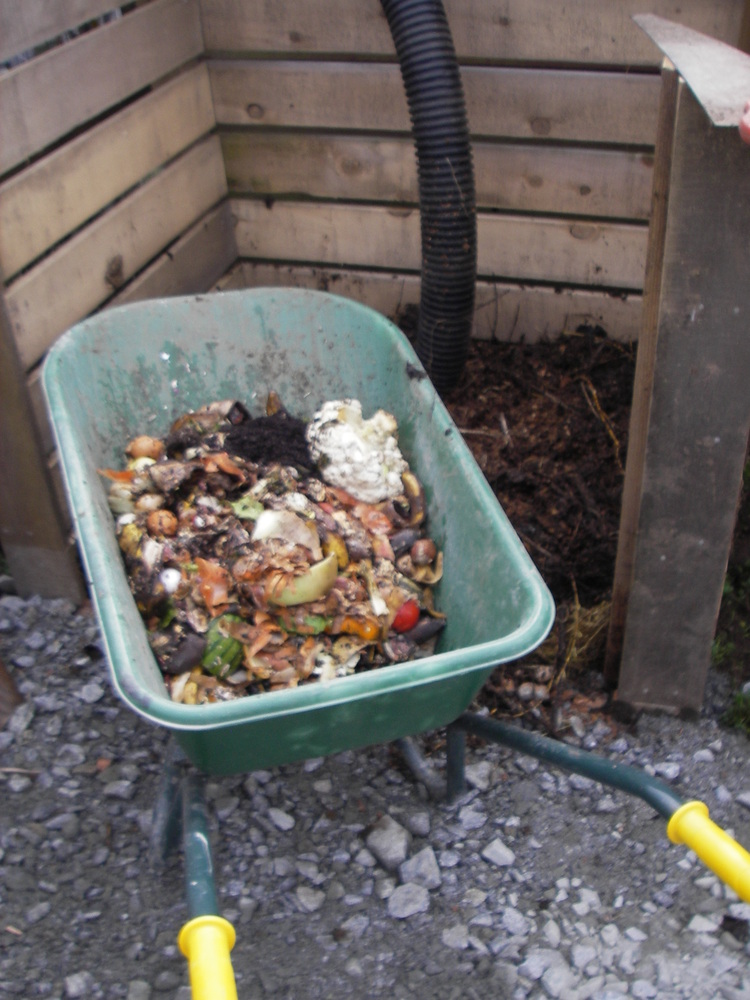
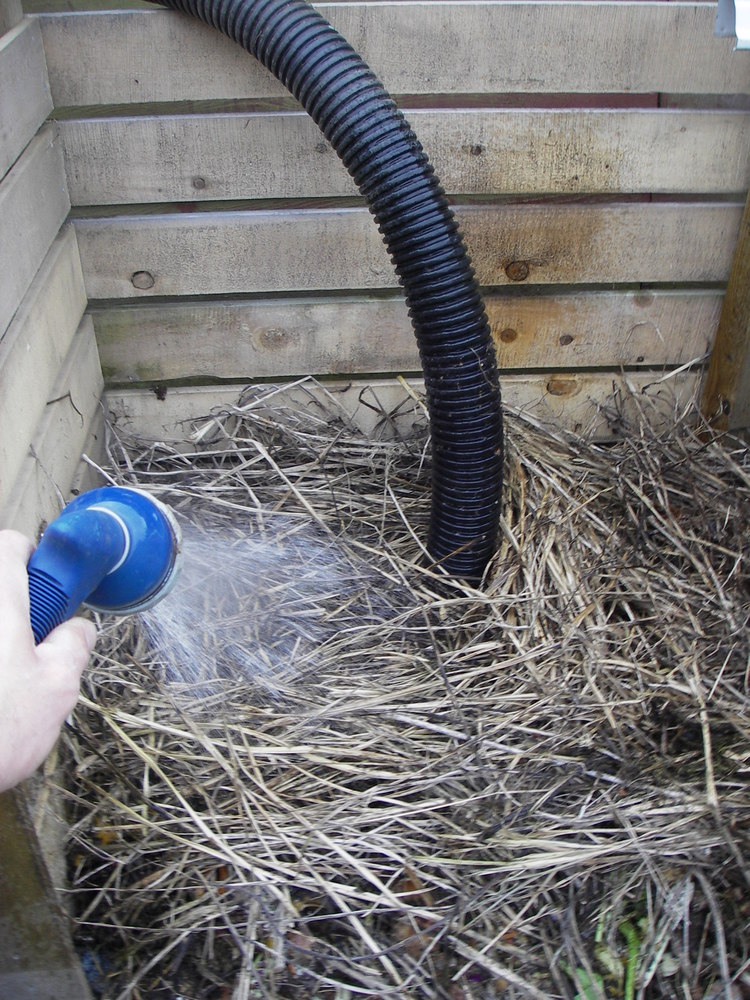
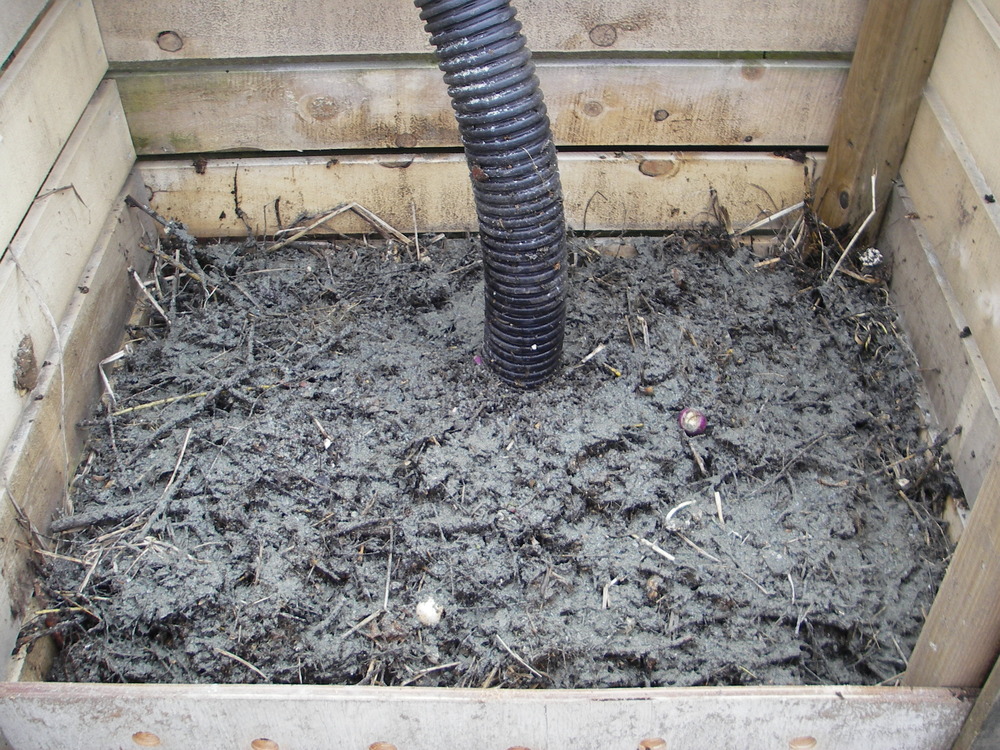
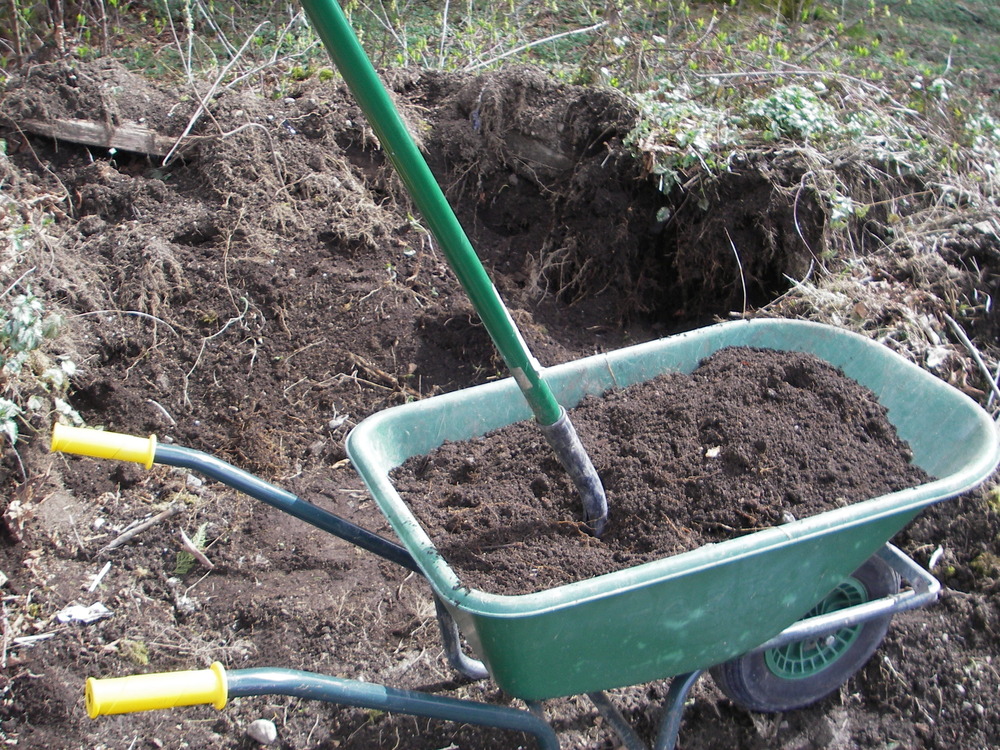
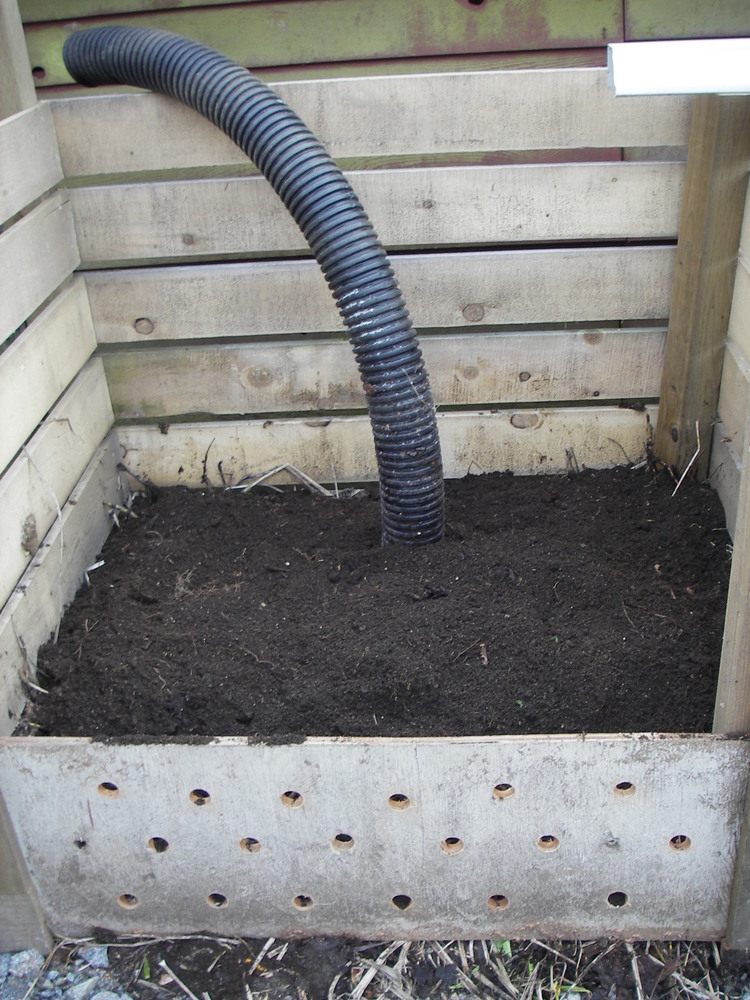
The first layer I laid down was used rabbit bedding consisting of hay, rabbit manure and urine. I think this is a good ratio of carbon and nitrogen. Then I loaded up a wheelbarrow from my old compost which was compacted and completely saturated with water and, therefore anaerobic, which is not what we want. However, it does have a lot of organic matter in varying degrees of decomposition. It also has a ton of worms and other creepy crawly creatures as well as good bacteria and micro-organisms that I wanted to import into my new compost to help break down organic matter.  Next I took another wheelbarrow, approximately 10 gallons of food scraps we had saved up. Then I put a layer of dried comfrey stalks for carbon and sprayed it down with water. We had a pile of gravel (granite) and I sifted out a bucket of granite dust/sand and layered it over the comfrey stalks. Granite dust is a natural source of potash and contains important micronutrients which are released very slowly. Then I added another layer of my old compost. Finally, I added a layer of really great old (5-10years) composted soil that is full of effective microorganisms and nutrients that I want to inoculate my new pile with. I built all this around a piece of draintile pipe which will provide oxygen to the center of the pile. I also drilled holes in the front plywood so I can aerate the pile with an old pool cue.

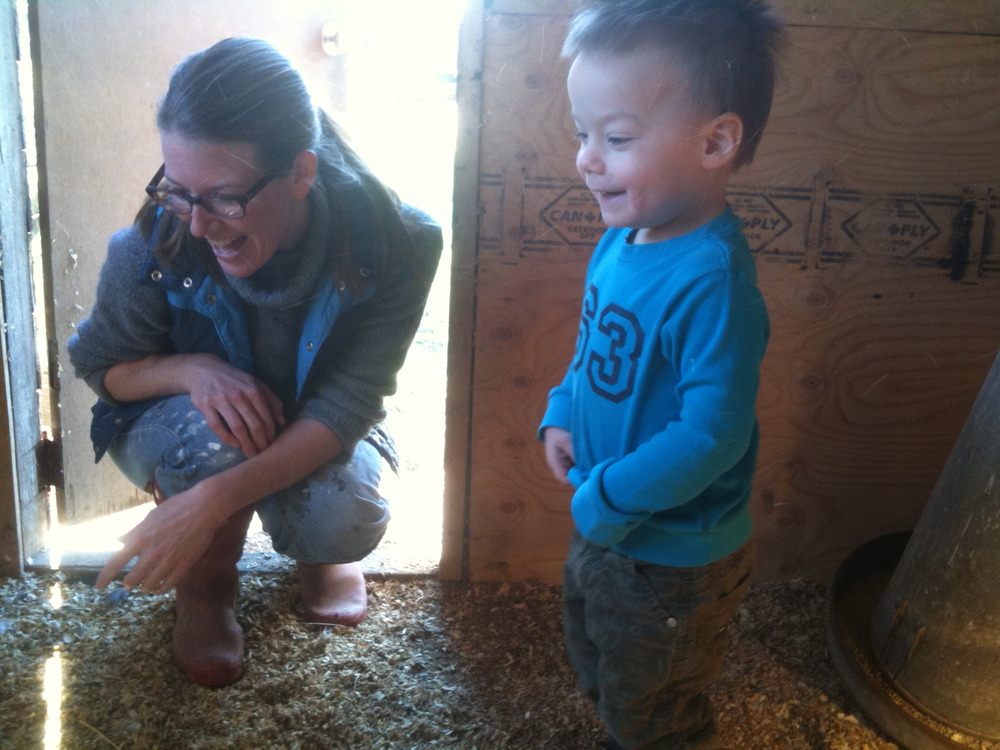
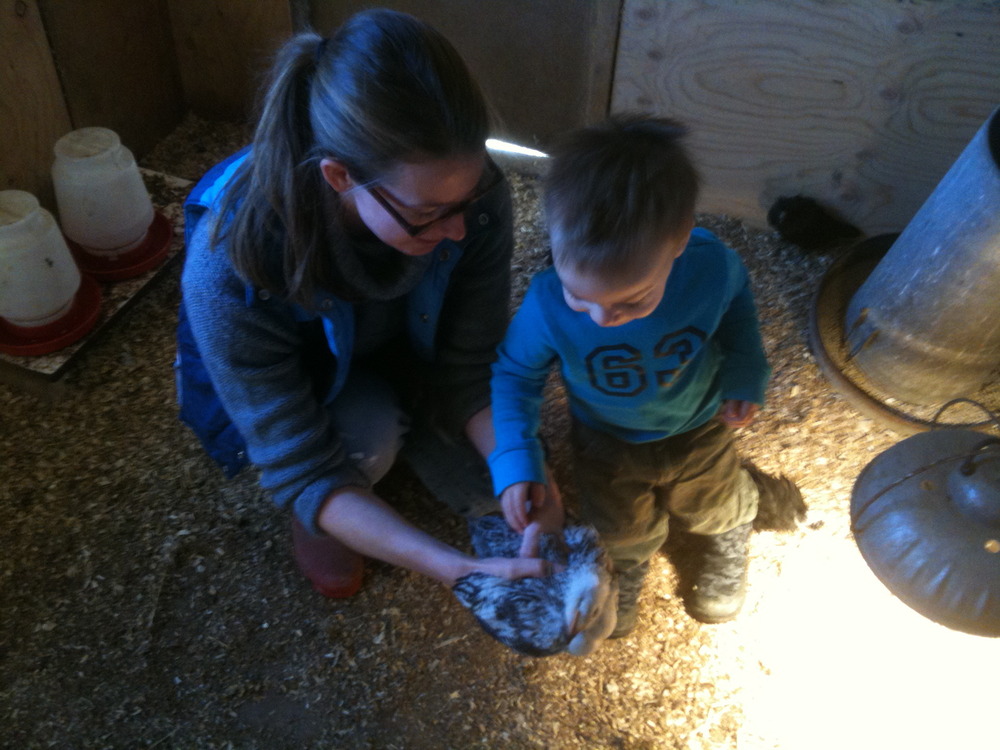
We have now put our rabbits over the compost pile so they will continue to ‘rain their blessings’ down on it and I will continue to add food scraps and whatever else is available. I will also apply my effective microorganism spray when it is ready. In a month or so I will transfer the contents of this bin into the second bin and begin again. A month later I will transfer the contents from the second bin into the third bin and by this time next year I should have some very nice compost to put on the garden. . . at least in theory.  I guess we’ll see.

If anyone has compost/foodscraps you don’t know what to do with, you know where to bring it!

Chris


Round One: Seed Planting

Img_12841

Hey web family,

Since Jocelyn did the work to allow us to contribute to the web-presence of farmforayear, I figure it’s about time we post some goodies.

On March 20th Chris, Julie, Chantalle, and I dove into seed planting. Based on all of the seeds we purchased, we’ll need to plant mid March, early April, mid April, early May, and mid May, both indoor and outside. This doesn’t include stagger planting, which we plan to do in order to ensure a balanced supply of produce over the summer and early fall.

Planting our mid March batch was eye opening for a few reasons:
  • We are now obliged to finish prepping our permanent grow locations in the next month – we’re high on motivation but low on time.
  • We are now going to enjoy more community dinners as our (Chantalle and I) bay window and kitchen table are overrun with planted seed trays….from only our first batch of planting
  • We are now starting to understand the enormity of this project and the abundance of produce we get to share with friends, the Haney Farmers Market, and elsewhere (assuming that stuff actually grows :)).

Our first batch of planting included:

  • Sweet Basil
  • Yarrow 
  • Fernleaf Dill 
  • Pickling Dill 
  • Oregano 
  • Chamomile 
  • Garlic Chives 
  • Mint 
  • Lemon Balm 
  • 6 Tomato Varieties

Some of it will end up in our fruit tree guilds, some in our herb spiral, and some on the south side of the house where we plan to grow tomatoes

Thanks for your interest in our project and your passion towards a sustainable future.

Cheers!
Matt

farmhouse fireplace transformation

Img_5613Img_5539Img_5615Img_5537Img_5616Img_5541Img_5540Img_5543Img_5544Img_5580Img_5586Img_5584Img_5592Img_5593Img_5535Img_5534Img_5553Img_5556Img_5560Img_5561Img_5563Img_5564Img_5565Img_5570Img_5575Img_5576Img_5577Img_5569Img_5581

So, this is reaching even farther back into our farm activities, but I did say that I have a lot of blog posts to catch up on…

About a month and a half ago (at least), Julie and Chris decided that it was time to modernize their red brick fireplace. They called on our trusted and talented interior design/ artist friends Cary and Tommi for some help and the plastering-painting project began…

Of course, like all communal activities on the farm, the fireplace project was much more than just that – it also involved brunch, coffee breaks, lunch and visits to the chicken coop…but in the end, the fireplace did get completed and it looks amazing!

Interior transformations on farms are, after all, just as important as exterior transformations :)

Before & after photos of the fireplace as well as the other activities of the day above.

PS – I completely forgot to mention the mantle! Chris built that gorgeous mantle out of the same wood he used for the flooring in the house. I’ll upload an even newer photo soon because the mantle was still in development here. It’s now smoothed out and polished up and is a seriously gorgeous feature in their home.