Tag Archives: DIY

Turning found objects into planter boxes

Img_0746

An activity that I LOVE is hunting for bargains on used items. I frequent thrift stores and I monitor the free items on craigslist daily. Yep, daily. Part of the enjoyment is the thrill of the hunt and part of it is the satisfaction of finding something great (for cheap) and repurposing it into something really useful or beautiful.

Repurposing and reusing ‘waste’ materials in home and garden designs is one of the design principles of permaculture. If you’re like us and live in or near urban areas, there is always an overabundance of ‘waste materials’ that no one else wants. Incorporating beneficial ‘wastes’ into our systems save them from being added to landfills and enhances our own environments (if used well).

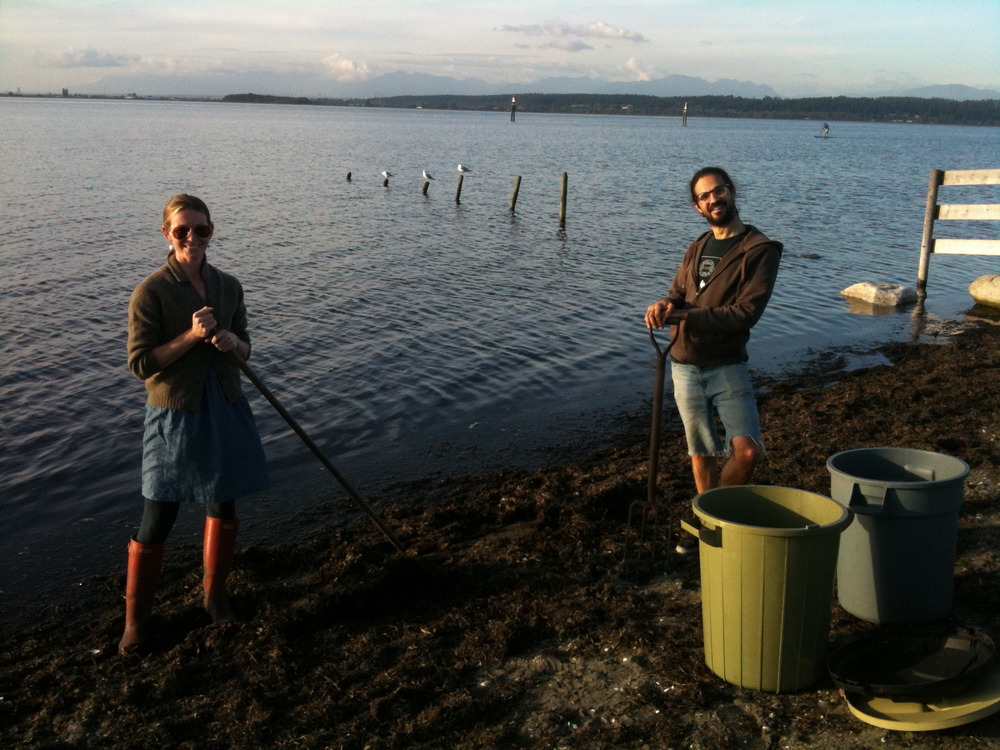
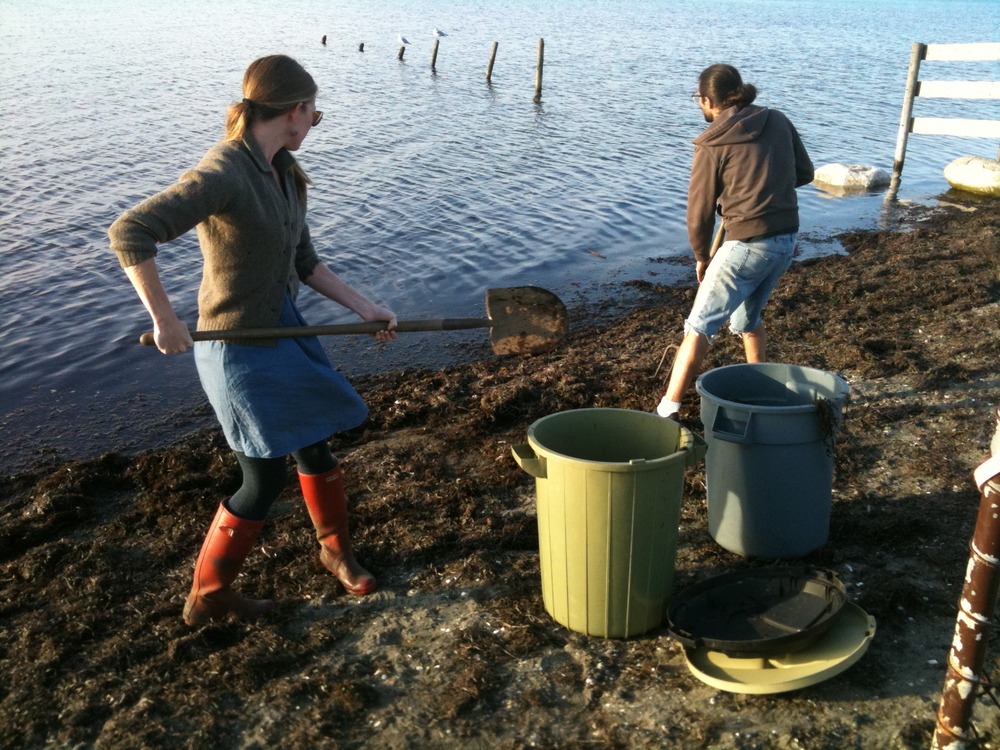
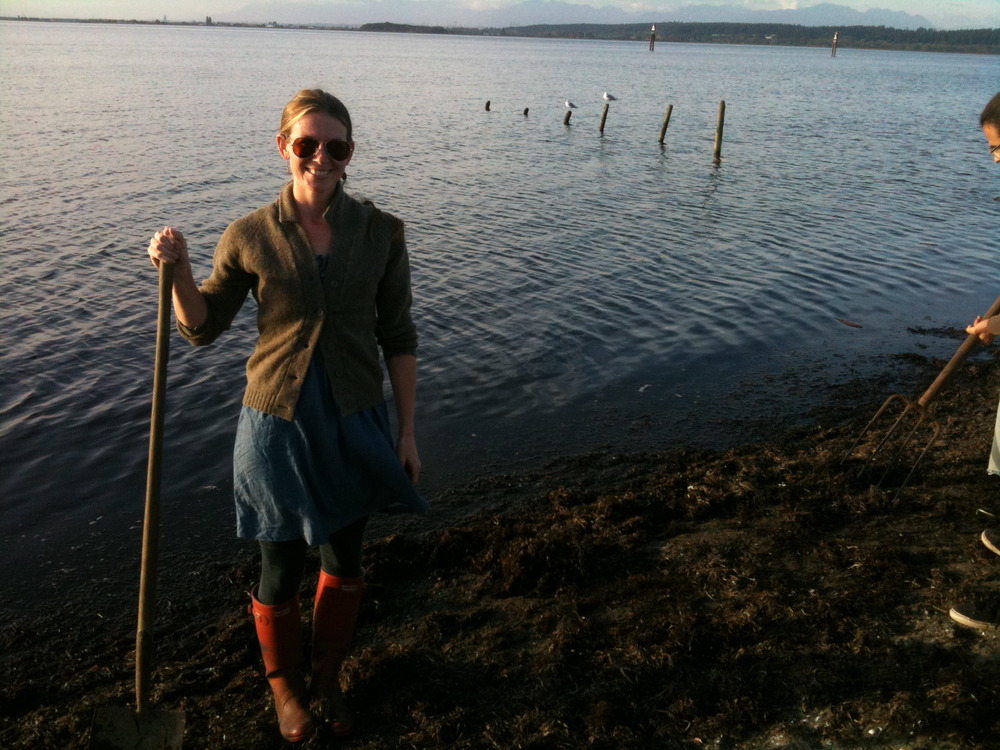
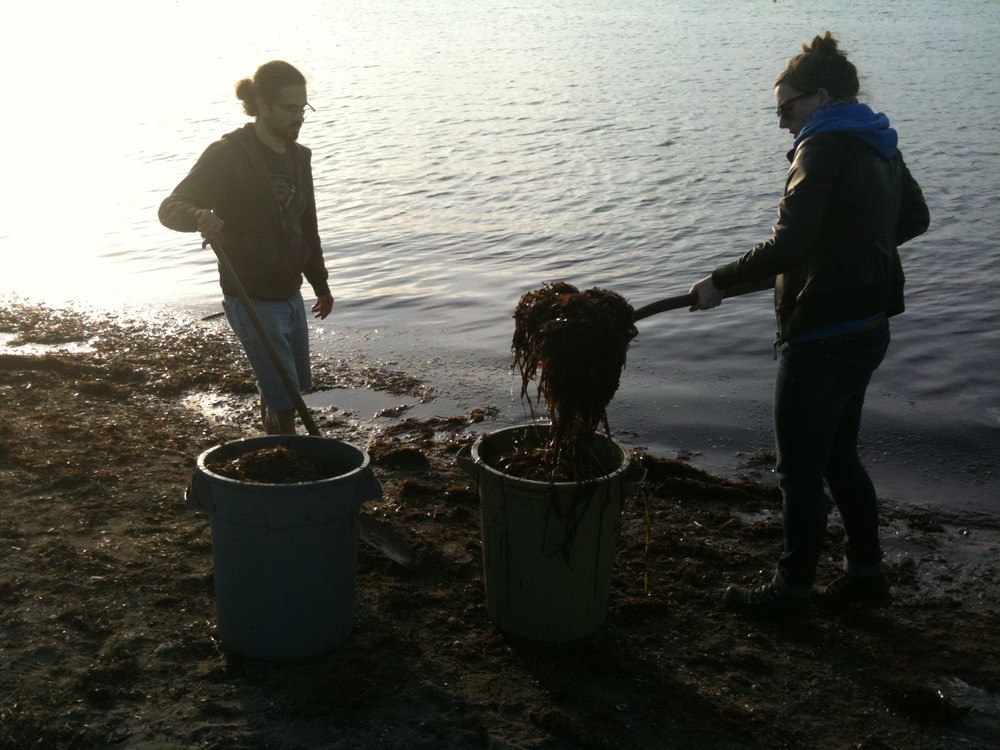
This week, bf Chris and I followed a craigslist ad to a local residence where the owners were moving and had left a big pile of free stuff out on their driveway for anyone who wanted it. Chris texted me about the ad sometime around 7am and we quickly rendezvous-ed to check it out. 

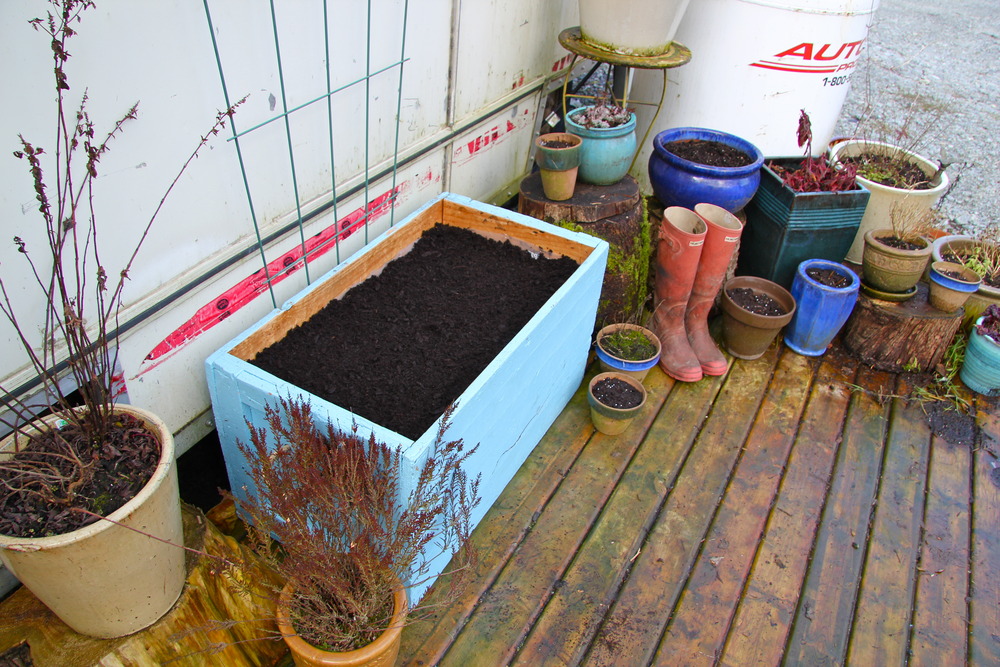
We scored gardening tools, rubber boots, board games, hardware, and all kinds of other useful things. We also scored a large wooden box painted robin’s egg blue. I pounced on it. Since my mind is consumed with garden planning and seed planting right now, I knew right away that I wanted to turn it into a planter for my patio space.

Planters can be created out of all kinds of ‘waste’ objects: tea pots and bowls, metal containers, old boots… A wooden box isn’t particularly creative, but the size of mine is great and I love the colour. The rope handles on it are a plus too –  easier to move it while its loaded down with soil.

These are the steps I took to transform this free wooden box into a planter:

  1. Removed hardware (lid hinges) from the top of the box (the lid itself was disconnected from the box already);
  2. Lined box with plastic. I used a heavy plastic that was left over from some trailer renos and nailed it into place a couple inches from the top of the box. I decided to line the box to help retain water and moisture in the soil and protect the box from getting water damaged from the inside out;
  3. Filled the bottom of the box with about 5-6 inches of broken pottery (from broken flower pots) for drainage to help keep the soil from getting water-logged;
  4. Added a layer of compost;
  5. Topped it with a generous supply of potting soil;

I planted a row of radishes and three rows of red onions in the planter, leaving room for a back row of sweet peas which I hope will climb up a trellis and help mask some of the ugliness that is the exterior of my trailer. Since the temperature is still pretty cool, I’m reusing an old window to cover the box for now to keep the soil warm. The sweet pea seeds are germinating under some damp paper towel in my trailer right now. I’ll add them to the box in a couple days.

A fun mid-week project that only took a couple hours to complete! 

Do-it-yourself, but not by yourself

Photo

I was really glad to have the help of the communitiy members who I live with over the past couple days. I had no water for 4 days because of the freezing weather which meant I made numerous runs into Chris and Julie’s house for showers and to bring pots of water back to the trailer for washing dishes.

On top of that, the gear shift on my truck completely seized up Thursday night and the clutch stopped working. I was going to bring it into a mechanic’s shop because I know almost zilch about vehicle mechanics, but it wouldn’t even get me up the street. Stranded and wondering if paying for a tow-truck would be worth it, I pretty much thought my dear old gifted truck had finally kicked it. And then Ryan took a look and discovered low clutch fluid. Borrowing Mel’s car, I ran to the gas station, spent $4.50 on Dot 3 (now I know what that is :), and Ryan and I filled it up. He figured the clutch would need bleeding, which he was generously going to attempt himself, but it turns out just filling it up did the trick. So glad I didn’t pay for a tow truck or for a mechanic to do that (pretty sure my bill would have been more than $4.50) and VERY thankful for Ryan and his quick offer to see if he could figure out the problem.

And then on top of that, when the weather warmed up yesterday and my running water returned (normally a really good thing), I was surprised to find that my water pressure was still too low to shower in. Getting worried, I started poking around a bit this morning and discovered a waterfall pouring out from under the back area of my trailer. I ran back inside, pulled out all of my cushions around my back table, lifted up the bench seats and discovered a major leak in one of the plumbing lines. Thankfully the bench seats contained the water securely (no overflowing into the rest of my trailer) and thankfully there is some kind of leak or drain in the back of my trailer – otherwise, there would have been way more of a mess to clean up. I turned off the water source and as the water drained out from who knows where, I assessed the situation. I thought I might be able to fix it on my own, but the pipe needing to be removed and replaced was too far up in the wall for me to easily get to it. This time Chris came to the rescue. We pulled out insulation and he got right down into the base of the bench seats, reached up the wall, and was able to remove the pipe. (That’s him in the iPhone photo I shot while holding up the bench seat for him). Pipe removed, I ran to the hardware store only to find out that my oldschool RV pipes aren’t made anymore, but the hardware guys very helpfully put together a DIY pipe for me that would do the trick. Chris installed it for me back on the farm and now I have full-pressured, non-pipe-leaking water to shower in. Yay! Total amount I spent on the new pipe bits and a caulking gun so I can apply silicone sealant to an exterior area where we had to move some stuff to fix the pipe: $25.00.

All in all, a fixed truck and trailer pipe, DIY-but-not-by-yourself-style, for $30.00. Pretty darn awesome. Between DIY youtube videos and handy friends who are generous with their time and abilities, getting stuff fixed at home for cheap is seriously wonderful. And you always learn something new.

Thanks guys! Cases of thank you beer coming soon :)

Harvesting seaweed for the garden

Img_8375Img_8376Img_8377Img_8379Img_8380Img_8382Img_8383Img_8384Img_8385Img_8387Img_8388Img_8389Img_8390Img_8374

Okay, I’ve returned from my (awesome) 5 day trip to the Northwest Permaculture Convergence and am back into busy life mode. In the last two days, I’ve tidied up our deep beds, added new compostable layers to garden beds, mowed the lawn, joined the board of a local environmental group, participated in my first hot yoga class, tutored (my acitivity that pays the bills) and spent quality time with good people. It’s rainy out today and I’m tired so it seems like a good day to do some typing from my cozy little nest bed in the trailer.

I’m going to start getting this blog caught up by writing about the harvesting of seaweed for garden beds. I spent Tuesday adding some recently collected seaweed to the hugelkulture bed I’m working on and did the same thing with my lasagna bed last week.

It started a week and a half ago when my friend Chris and I made a trip out to Crescent Beach near White Rock to load up his truck with salty kelp for both of our respective gardens. My sister Stephanie rode her new motorbike out to meet us and lend a hand.

So, why seaweed? Seaweed is chock full of vitamins and minerals that soil loves – and it’s free! Plus, who doesn’t love an excuse to go to the beach? The nutrients found in seaweed help condition soil, making it richer and healthier, resulting in better growing environments for plants. According to some online research, seaweed improves soil fertility, adds nutritional value to fruits and vegetables, encourages more extensive root growth and helps fight off disease and pests. 

And how does one apply seaweed? Most of what I’ve read suggests rinsing seaweed or letting it get washed by rain (not a challenge here) before adding it to garden beds to reduce some of the salt content (there seems to be debate about whether this is really necessary or not). I added it directly onto my hugelkulture and lasagna beds (on top of composted horse manure), about 4 inches thick. You can also add it to your composting system or make a liquid spray fertilizer out of it. Other websites suggest laying it around pre-existing plants to help strengthen the soil they’re growing in.

If you’re going to head down to the beach to try this out, I recommend double-checking that it’s legal to do s
o (official parks, as a general rule, seem to be off limits). 
I highly recommend (legal) seaweed harvesting though – it’s a fun activity and your soil will thank you!