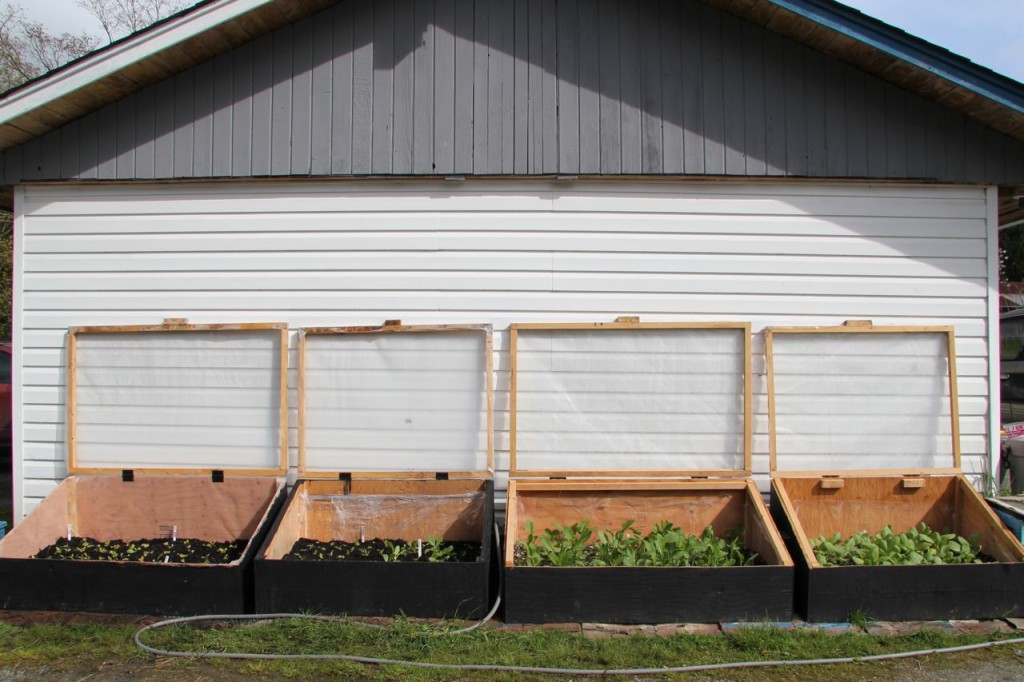
The south-facing side of the garage presented a great opportunity to take advantage of one of the warmest and most protected spots on the property. It was also a totally unused space that was just begging for attention :) It provided us with approximately 20′ length x 4′ depth of cold frame growing space.
Growing edibles outdoors in the Pacific Northwest is easy in the summer, but is greatly enhanced throughout the rest of the year with the help of protective structures like greenhouses, poly tunnels, and cold frames. Last year, we had none of these when we started getting seedlings going which meant that we didn’t have harvestable food until late June/ early July. Since our desire is to grow more of our own food ourselves and to partially support our lifestyle with market sales, I knew that building some early growing spaces would be key this year and that DIY cold frames would be easy and affordable structures to start with.
I actually built these back in January, but have been holding off on featuring them in a blog post until they had some good-sized plants growing in them. That said, now is still a great time to build some of these for yourself. Our weather is still very iffy and there are lots of seedlings that will do better in these right now than out in the open.
I’d had the idea to put some cold frames in this location for over a year now. I’ve parked them against the south-facing wall of the garage. It gets a ton of sun and it seemed like a major lost-opportunity not to grow something against it. However, digging into the ground next to it wasn’t an option since it consists of years of driveway-spread gravel. Being thoughtful about the locations of things is important. I knew that this space had major sunlight and heat potential, that it would provide early seedlings with a great starting-out space, that it would provide heat-lovers like tomatoes and basil a mid-season living spot, and that it would serve as a close-to-the-home growing spot for winter greens. So, how to start? I choose the library.
I found a book at the library with lots of DIY garden projects in it, including the blueprints and instructions for these cold frames. These were the first construction project that I completed entirely by myself (from finding the design, picking up supplies at the hardware store, and building with power tools) and I’ve gotta say, I was feeling pretty darn capable and satisfied with myself while I worked on them in the garage in January, complete with a parka, gloves and a tuque.
So, here are the basic details (which are pretty flexible depending on if you’re using materials you just have lying around – some of which we had which is why the cold frames aren’t totally uniform in size). For one cold frame I used:
- a 8′ x 4′ piece of untreated plywood (I chose untreated to avoid the chemicals in it, however, since these will be living outdoors, it may have been an unwise choice. I still painted the exteriors black for heat absorption – chemicals anyways, and lined the insides with poly plastic to protect the wood – which would have in turn protected the seedlings and soil from chemical treatments. So, not sure what would have been the best route to go with that).
- approx. 50′ of 2x2s
- poly plastic ( a 4.5′ x 5.5′ piece for the lid) and more if you want to line the inside with it.
- 2 hinges
- screws
- corner brackets (optional)
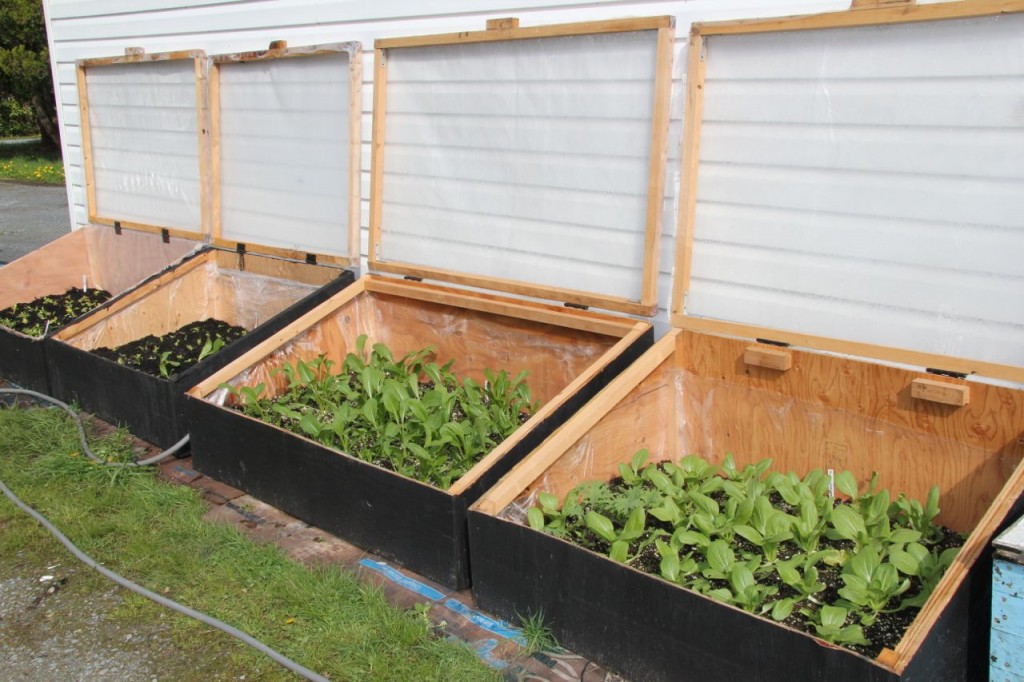
The 8′ x 4′ piece of plywood provides everything you need for the walls of a 5′ wide x 4′ deep cold frame (see my very unprofessional drawing below :). The cold frame sits 2′ high at the high end and 1′ high at the front, low end. The 2x2s are used to build the frame of the lid and to fit inside each interior corner as well as along the interior base of the cold frame. I used 2×2 scraps for handles on the sides of the cold frames (easier to lift – with one person on each end), and for the handle on the lid. There are no bottoms to the cold frames – I just lined the gravel and weedy ground with cardboard and then layered natural mulching materials (I used straw and chicken coop shavings) inside the cold frames, followed by compost, and topped with soil.

I realize my ‘instructions’ aren’t super instructional, but if you’re interested in building some of these for yourself and have more questions, feel free to leave your questions in the comment section of this blog post and I’ll respond with more details.
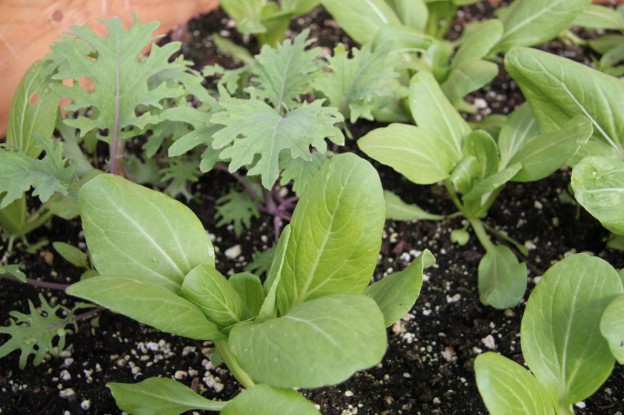
In conclusion though, these cold frames have been great so far! As you can see, our greens are growing great in them – much more robust than those that are planted in trays in our poly tunnel because their roots have so much room to spread out and absorb nutrients. I’m excited to make use of them all year long, and am now inspired to think up some other fun cold frame-y projects to create.


One last thing…something I didn’t do, but which would have enhanced these (and which Chris suggested to me, but I was too impatient to start using them to take his advice) would have been to paint the interiors white to reflect the sun back at the plants. Next time… :)